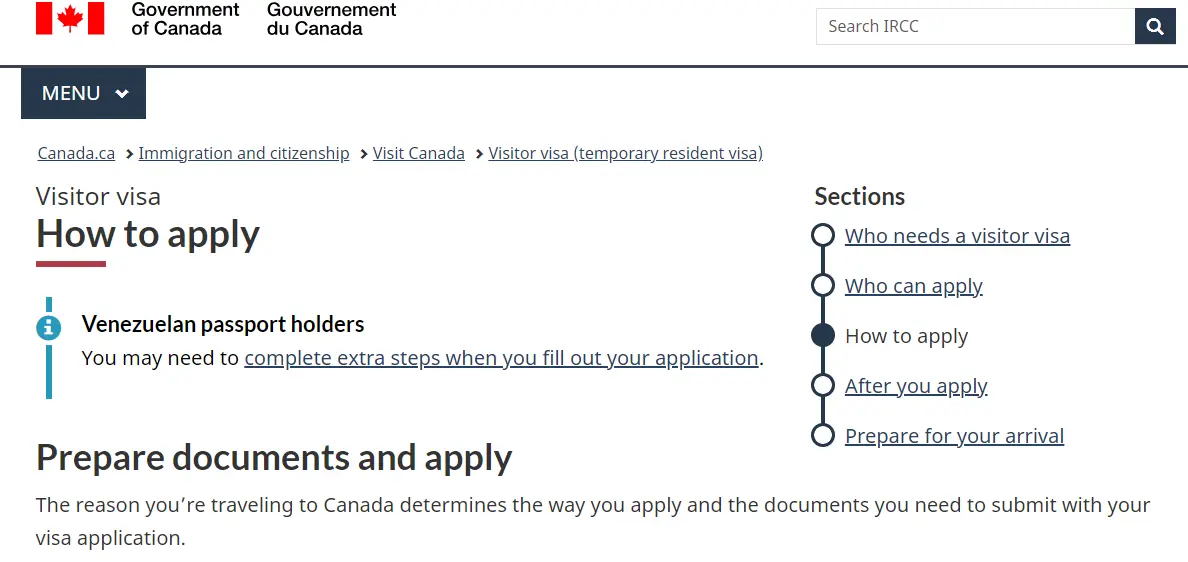
Welcome to our comprehensive guide on how to apply for a Canadian visitor visa using the new IRCC portal. If you’re planning to bring your parents, siblings, friends, or relatives to Canada for a visit, this detailed blog will walk you through each step of the process. We’ll cover everything from registering on the portal to submitting your application and required documents. Let’s get started!
Introduction
Applying for a Canadian visitor visa can seem daunting, but with the new IRCC portal, the process has become more streamlined and user-friendly. Whether your loved ones are visiting for a vacation, family reunion, or any other reason, this guide will help you navigate the application process efficiently.
Step 1: Accessing the IRCC Portal to Apply Canada Visitor Visa for Parents, Spouses, Siblings, or Friends
To begin, you’ll need to access the IRCC (Immigration, Refugees and Citizenship Canada) portal. Here’s how:
- Open your web browser and go to Google or Bing.
- Search for “Canada visitor visa.”
- Click on the second link that says “Visit Canada.” or Use this link to apply for a visitor visa
Step 2: Navigating the IRCC Website
Once you’re on the IRCC website, you’ll see various options. Follow these steps:
- Click on the option that says “Apply for a visitor visa.”
- You’ll be directed to a page with several sections explaining who needs a visitor visa, who can apply, how to apply, what happens after you apply, and preparation for arrival.
- Review the information provided to familiarize yourself with the requirements and process.
Step 3: Starting Your Application
Before you start your application, ensure you have all the necessary documents ready. Here’s what you’ll need:
- Proof of relationship to the person in Canada
- Identity documents (e.g., passport)
- Family information form
- Proof of funds
Step 4: Registering and Signing In
To apply online, you’ll need to sign in to the IRCC portal. If you don’t have an account, follow these steps:
- Click on the “Get invite code” button.
- Enter your email address and confirm it.
- Click on “Get invitation code,” and you’ll receive an invitation code in your email.
- Follow the instructions in the email to create your account.
If you already have an account, simply click on “Sign in to the IRCC portal” and enter your email address and password.
Step 5: Filling Out the Application Form
Once you’re signed in, you can start your application. Here’s a step-by-step guide:
- Application Type:
- Select “Apply to visit, study, or work in Canada as a temporary resident.”
- Group Application:
- If you’re applying for more than one person (e.g., both parents), select “Yes.”
- Choose the type of group (e.g., family) and give a name to the group (e.g., Parents).
- Visitor Visa Application:
- Select the purpose of the visit (e.g., tourist, family visit).
- Provide details about the family member’s status in Canada (e.g., Canadian citizen, permanent resident).
- Stay Details:
- Specify the dates of the visit and provide a brief explanation of the purpose (e.g., attending a child’s convocation).
- Applicant Information:
- Enter the applicant’s personal details, including name, date of birth, gender, and passport information.
- Travel History:
- Provide information about the applicant’s travel history over the past five years.
- Employment and Education:
- List the applicant’s employment activities and educational background for the past ten years.
- Biometrics:
- Indicate whether the applicant has provided biometrics in the past ten years.
Step 6: Uploading Supporting Documents
After completing the application form, you’ll need to upload supporting documents. Here’s what you should prepare:
- Identity Documents:
- Scan all necessary identity documents and save them in one file. This typically includes the passport.
- Proof of Funds:
- Upload the applicant’s bank statements for the last four months.
- If someone else is sponsoring the visit, provide their financial documents.
- Additional Documents:
- Depending on the situation, you may need to upload additional documents such as an invitation letter from the host in Canada, proof of relationship, and travel itinerary.
Step 7: Consenting to Contact
Before submitting the application, you’ll need to consent to being contacted by IRCC. Enter the applicant’s first and last name as a form of digital signature.
Step 8: Paying the Application Fee
The application fee for a Canadian visitor visa is $185 CAD, which includes $100 for the visa and $85 for biometrics. Follow these steps to make the payment:
- Click on “Save and continue.”
- You’ll be redirected to the payment page.
- Enter your card information and complete the payment.
Step 9: Submitting the Application
Once you’ve completed the payment, your application will be submitted. You can track the status of your application through the IRCC portal. Make sure to check your email regularly for any updates or requests for additional information from IRCC.
Conclusion
Applying for a Canadian visitor visa using the new IRCC portal is a straightforward process if you follow the steps outlined in this guide. By preparing all necessary documents in advance and carefully filling out the application form, you can ensure a smooth and successful application process for your loved ones.
If you found this guide helpful, please share it with friends or relatives who may benefit from it. Don’t forget to subscribe to our blog for more informational content on visa applications and other immigration-related topics. If you have any questions, feel free to leave a comment below or contact us through our social media channels.
Thank you for reading, and best of luck with your visitor visa application!

1 thought on “How to Apply for a Canadian Visitor Visa for Your Loved Ones Using the New IRCC Portal”